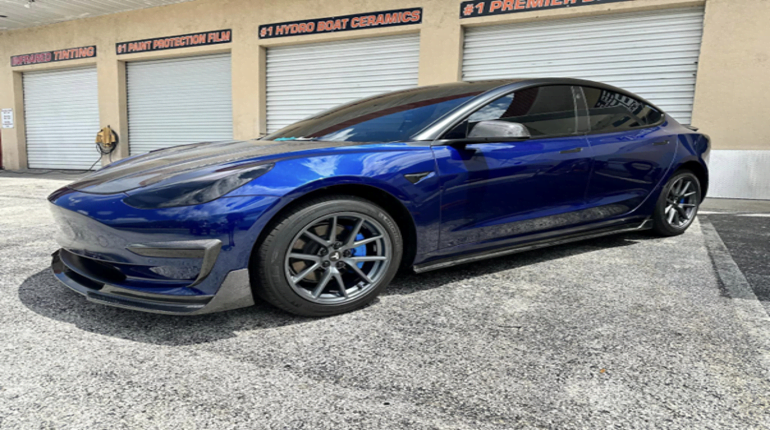
Auto Paint Correction is a meticulous process that automotive enthusiasts and professional detailers undertake to restore a vehicle’s paint finish to its optimal condition. This intricate procedure involves several stages, each designed to address specific imperfections and bring out the car’s true shine. In this comprehensive guide, we will delve into the various stages of Auto Paint Correction, exploring the techniques, tools, and products used to achieve a flawless and showroom-quality finish.
Stage 1: Inspection and preparation
Before diving into the Auto Paint Correction process, thorough inspection and preparation are essential. Detailers meticulously examine the vehicle’s paintwork under various lighting conditions to identify imperfections such as swirl marks, scratches, water spots, and oxidation. This evaluation helps determine the severity of the damage and the level of correction required.
Once the inspection is complete, the car is thoroughly washed and decontaminated to remove dirt, grime, and contaminants from the surface. This ensures a clean canvas for the correction process and prevents further damage during polishing.
Stage 2: Paint decontamination
Paint decontamination is a critical step to prepare the paint surface for correction. It involves using specialized products like clay bars or clay mitts to remove embedded contaminants that washing alone cannot eliminate. Contaminants such as tree sap, tar, rail dust, and industrial fallout can bond to the paint, leading to surface imperfections. Decontamination leaves the paint smooth and ready for correction.
Stage 3: Machine compounding
The first stage of actual Auto Paint Correction is machine compounding. Detailers use a rotary or dual-action polishing machine equipped with a cutting compound and an appropriate foam or microfiber pad. The cutting compound contains abrasive particles that, when combined with the machine’s motion, remove the top layer of damaged paint, eliminating defects like deep scratches, oxidation, and heavy swirl marks. This stage requires careful control to avoid excessive paint removal.
Stage 4: Polishing
After compounding, the next stage is polishing, which further refines the paint surface. Detailers switch to a less aggressive polishing compound and a finer pad. This step removes the marks left by the compounding process and enhances gloss. Polishing also helps to eliminate any remaining minor imperfections and creates a smooth, reflective finish.
Stage 5: Finishing
The finishing stage involves using a fine polishing compound with an ultra-soft finishing pad. This step refines the paint to a high level of gloss and clarity, eliminating any fine swirl marks or hazing left from the previous stages. The result is a mirror-like finish that showcases the true beauty of the paintwork.
Stage 6: Paint protection
Once the Auto Paint Correction process is complete, it’s crucial to protect the newly restored finish. Detailers apply a high-quality paint sealant or wax to shield the paint from environmental contaminants, UV rays, and other elements that can damage the surface. Paint protection products enhance the paint’s longevity and maintain the glossy appearance achieved during correction.
Stage 7: Final inspection
The final inspection is a meticulous examination of the vehicle’s paintwork to ensure that all imperfections have been addressed and that the desired level of correction has been achieved. Detailers use various lighting sources, including LED lights and natural sunlight, to scrutinize the paint from different angles. Any remaining defects are corrected, and the paint surface is perfected.
Stage 8: Reassembly and detailing
After the Auto Paint Correction process is complete, any removed components, such as trim pieces, badges, or emblems, are reassembled onto the vehicle. Detailers also attend to the vehicle’s interior, cleaning and detailing it to ensure the entire car looks pristine and showroom-ready.
Tools and products used in auto paint correction
Polishing Machines: Rotary and dual-action polishing machines are commonly used for Auto Paint Correction. These machines vary in speed and motion, allowing detailers to choose the most suitable one for the job.
Compounds and Polishes: A range of cutting compounds, polishes, and finishing compounds with varying levels of abrasiveness are used to address different paint imperfections.
Pads: Foam and microfiber pads come in various levels of aggressiveness, from cutting to finishing, and are used with the polishing machines.
Clay Bars or Mitts: These are used during paint decontamination to remove embedded contaminants.
Paint Sealants and Waxes: These products provide protection and enhance the paint’s shine.
Lighting: LED lights, halogen lights, and natural sunlight are essential for inspecting and evaluating the paint’s condition.
Detailing Brushes: Various brushes are used for intricate areas and interior detailing.
Conclusion
Auto Paint Correction is a meticulous process involving several stages, each with a specific purpose and technique. This comprehensive guide has walked you through the journey of restoring a vehicle’s paint finish to its optimal condition. From inspection and preparation to the final inspection, Auto Paint Correction demands skill, patience, and the right tools and products.
Whether you’re a passionate car enthusiast or a professional detailer, understanding the stages of Auto Paint Correction is essential for achieving a flawless and showroom-quality finish. With the right knowledge and techniques, you can breathe new life into your vehicle’s paintwork, showcasing its beauty and protecting it for years.